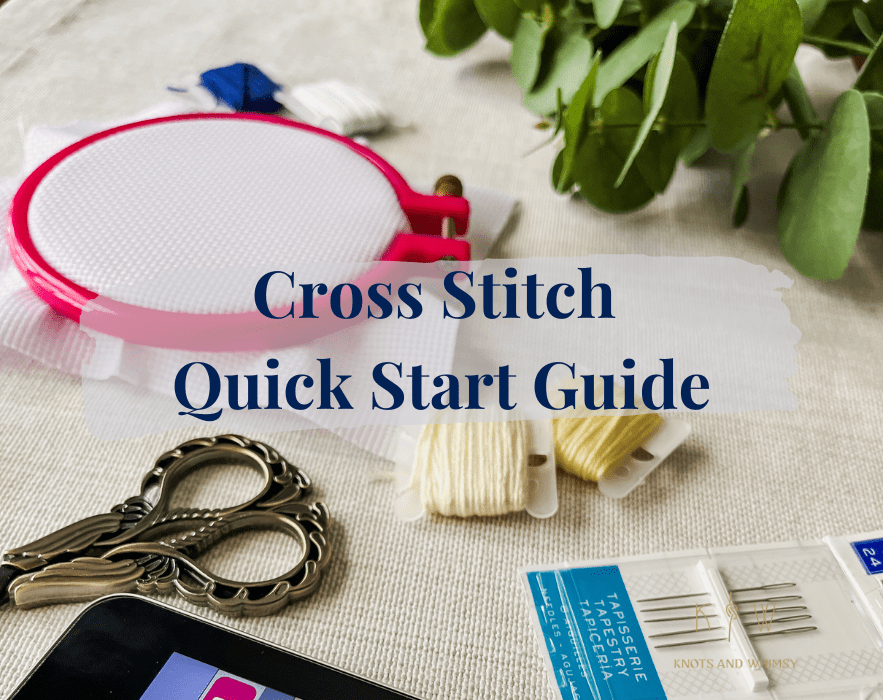
Cross stitching is such a fun and satisfying hobby! You can whip up some amazing designs with just a needle and thread, and honestly, it’s super relaxing. When I first jumped into cross stitching, I was surprised at how cost-effective it was compared to other yarn related hobbies. It definitely made it easier to get into, plus all the patterns and colors you can use really let your imagination run free! For those of you just starting out, here’s a guide that’ll help you kick off your first project.
Materials Needed
I’ve created a list of items you’ll need if you want to just click and go. The first few things are have-to-haves, and the rest of them are more fun, optional things!
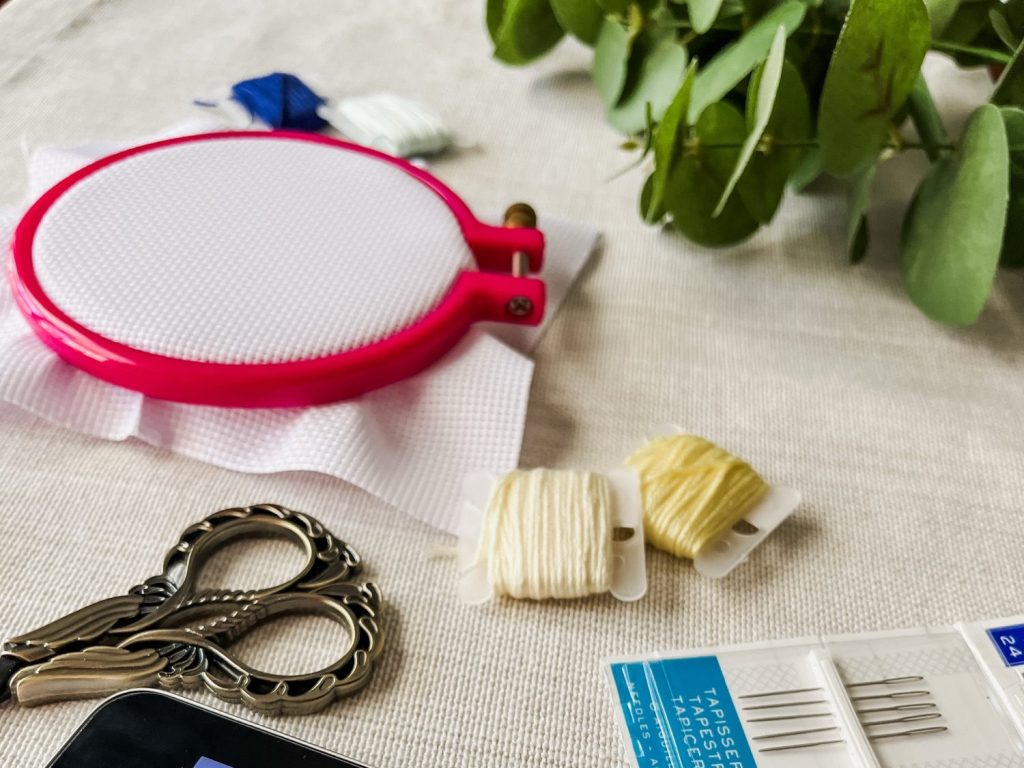
- Aida Fabric:
- Aida fabric is a type of needlework fabric that is easy to work with because of its grid-like structure. Most patterns will specify the fabric size (discussed more below), but 14-count Aida fabric is pretty typical.
- Embroidery Floss:
- Floss is six-strand cotton thread that’s used for cross stitching. It comes in a wide variety of colors. A lot of patterns, mine included, refer to colors as DMC#### (with the #### being the actual number for that color). That specifies the exact color for DMC brand embroidery thread. You can use those numbers to get the same color threads that are used in the pattern.
- Needle:
- Use a size 24 tapestry needle, which has a larger eye and a blunt tip, making it easier to work with 14-count Aida fabric.
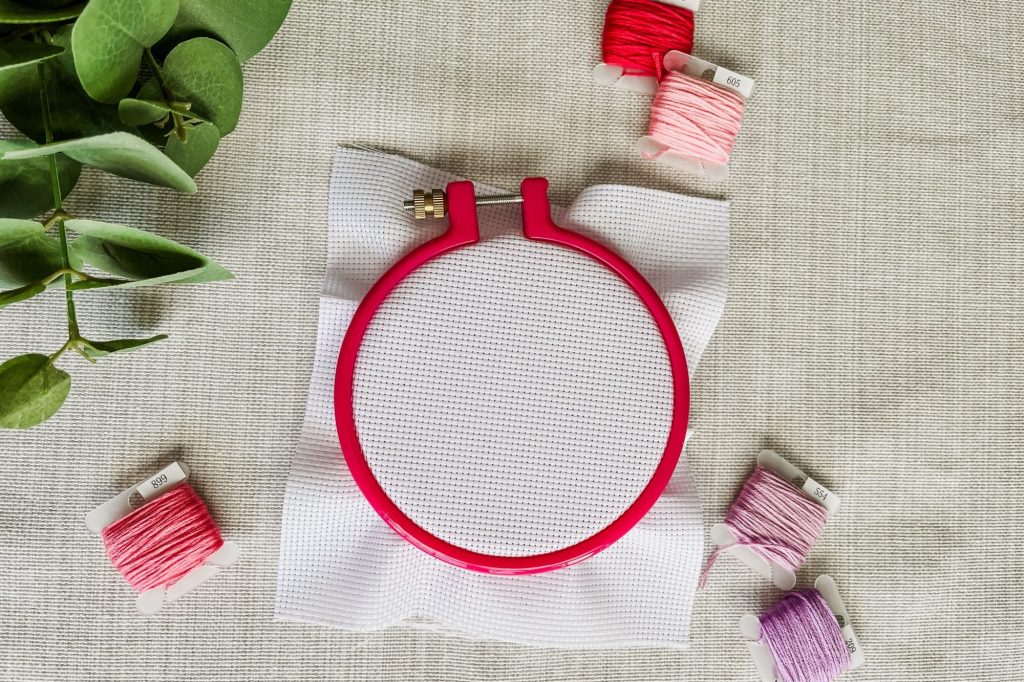
- Embroidery Hoop:
- This helps keep your fabric taut while you stitch. Patterns should list the final project size. Choose an embroidery hoop that is approximately 2″ larger than the final size, so you have an extra inch around the project to allow for ease of stitching.
- Chart/Pattern:
- You will need a pattern for your design. It can be a printed chart or a digital pattern. Click here to check out some Knots and Whimsy cross stitch originals!
- Scissors
- (Optional) Needle Minder:
- A magnet that holds your needle when you aren’t using it.
- (Optional) Embriodery Floss Organizer:
- For keeping your floss on bobbins and tucked neatly away when not in use.

Types of Aida Fabric
- Standard Aida:
- The most common type, available in various counts (14, 16, 18, etc.). 14 count is great for beginners.
- Colored Aida:
- Comes in various colors and can enhance the overall look of your project. The color can also be the base of the design itself.
- Glow-in-the-Dark Aida:
- A fun choice for unique projects that will shine in the dark after exposure to light.
- Sparkly Aida:
- Includes metallic threads, adding a shimmer effect to your work.
Understanding Aida Fabric Thread Counts
The thread count of Aida fabric refers to the number of threads per inch, which indicates the size of the stitches and project you will create:
- 14 Count: A common choice for many projects, providing a balance of detail and ease. Recommended for beginners.
- 16 Count: Creates a finer detail, but requires more precision in stitching.
- 18 Count: Best for advanced cross stitchers as it can make tiny, intricate designs.
The 14 count Aida fabric will make the biggest size cross stitch project compared to the 16 and 18 count options, when using the same cross stitch pattern for all fabric options.
Getting Started
Find a pattern that you would like to work on. You can check out my available cross stitch patterns here! Then gather all the items listed above and set up your hoop!
Setting Up Your Hoop
- Cut Your Fabric: Make sure to cut the Aida fabric to a size that allows for framing or finishing your project. Leave extra fabric around the design.
- It may help to put the fabric in your hoop before cutting it, then marking where you’d like to cut, to make sure you have enough fabric to finish it the way you want (approx. 1-2 inches extra on each side if you plan on using the hoop to frame it).
- There are tons of ideas on how to finish a cross stitch project. Pinterest is a great resource for creative ways to show off your cross stitching!
- Place your fabric in the embroidery hoop and make sure it’s taut so that it’s easier to stitch.
Decoding the Pattern
Each pattern consists of a grid, where each box represents a stitch, and every color is designated by a specific symbol. To begin, find the key that associates colors with their symbols. For instance, if you encounter a box marked with an “O,” refer to the key to identify the corresponding color for that symbol. Then work to stitch the “O” symbols in the color the legend says. As you stitch, ensure that you stitch each box with the correct color that corresponds with the symbol, so your project turns out the way the picture shows.
If there is no symbol in a box, there isn’t a stitch there, so you can just skip it.
Stitching Your Project
When you choose a color to work with, the pattern may say to use two strands of thread while you’re stitching. That means to untwist the embroidery floss of that color and separate out two strands of that color to use. Separate out a length of the two strands, cut it at a length you think will be manageable for stitching (usually I use string the length of my arm when I have a decent amount of that color to stitch), and start stitching!
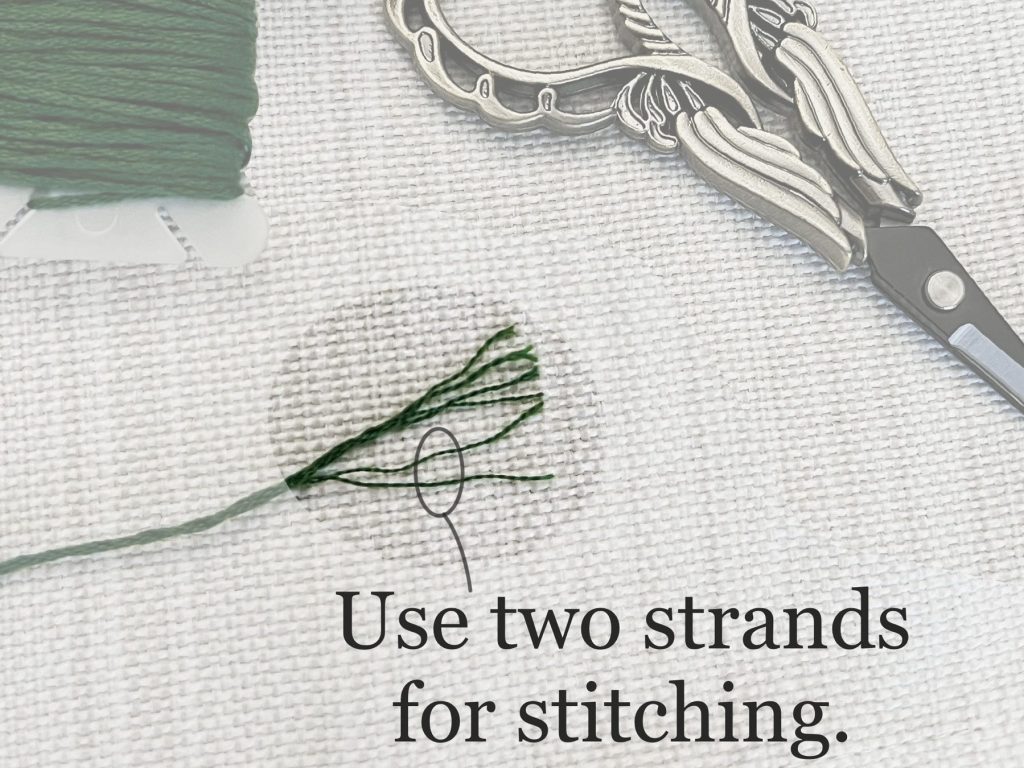
To create stitches in cross stitch, start by threading your needle with two strands of embroidery floss and tying a knot at the end (once you get familiar enough with stitching, you can leave a ~1-2″ tail and secure it with the backs of the stitches that you start creating).
*If reading this doesn’t make sense, enjoy the gif I made below.*
Choose where to start your cross stitch. Typically, you stitch from left to right. Begin by pushing the needle from the back of the work through to the front at your starting point, then move the needle diagonally up and to the right to make the first leg of the “X.”
Next, insert the needle into the hole directly below where it just came out. Create another diagonal stitch going up and to the right. Keep going right, making half of an “X” for each stitch until you’ve finished all the stitches of that color in your row.
After your last diagonal stitch up and to the right, push the needle from the back of the work to the front in the hole directly beneath the last one used and start stitching in the opposite direction (up and left). Continue until you’ve crossed all your stitches, completing the “X”s.
This technique helps fill out areas a little faster than completing full stitches one at a time and gives a more cohesive look.
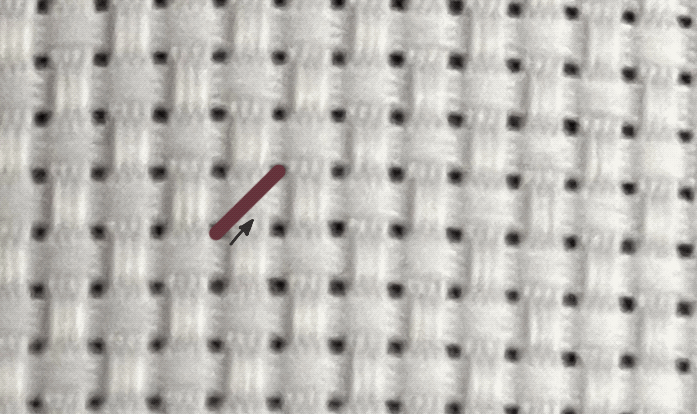
Note: It doesn’t matter as much if you start from diagonal up and right or diagonal down and right, as long as you’re consistent with how your stitches overlap.
Once you only have a couple of inches of thread left to stitch with, finish the stitch you are working on so that the needle and thread are on the back side of the project, then slide the needle under the bumps made from those stitches and slide the thread through the backs of the stitches to secure it. Trim the remaining string, then get a new thread ready.

Follow the pattern and refer to the symbols for the different colors of your stitches. I would recommend using a cross stitch pattern tracker or printing out the pattern and highlighting the stitches you’ve completed to keep track of your progress.
Happy stitching!